Filming a zipline trip can transform an adrenaline-pumping experience into a shareable, thrilling adventure that captures the essence of speed, scenery, and excitement. Whether you’re a hobbyist looking to document your journey or a content creator aiming to engage your audience with dynamic footage, understanding the technical and practical aspects of filming while ziplining is crucial. Here are detailed steps and tips to help you capture your zipline adventure effectively:
1. Select the Right Equipment
The key to filming any action-packed activity is using the right camera equipment. For ziplining, opt for compact, lightweight cameras that are easy to handle and mount.
Action cameras, like the GoPro, are particularly popular due to their sturdy build, waterproof capabilities, and wide-angle lenses. Ensure your camera has image stabilization features to counteract the movement and vibrations during the ride.
2. Use Suitable Mounts and Harnesses
Securing your camera is essential to prevent it from falling and to ensure stable footage. Helmet mounts are a common choice as they provide a point-of-view (POV) perspective, immersing viewers in the experience. Alternatively, chest mounts or harness systems can offer a more stable shot of your surroundings as you zip through the air. Make sure all mounts are tightly secured and checked by a professional if necessary.
3. Check Camera Settings
Before you embark on your zipline trip, adjust your camera settings for the best results. Set your camera to record at a high frame rate (60 fps or higher) to capture smooth, slow-motion footage that can vividly showcase the rapid movement and scenic backdrops. Also, consider using a shorter exposure time to reduce motion blur.
4. Plan Your Shots
Think about the kind of footage you want to capture. Do you want a first-person view, or do you intend to film your reactions as you travel down the line? Perhaps you want to capture the landscape and scenic views around you. Planning your shots can help you determine which camera angles and mounts will best suit your desired outcome.
5. Test Runs
If possible, do a test run to check how your equipment performs while on the zipline. This allows you to make any necessary adjustments to camera angles, settings, and mounts to ensure you capture the best possible footage during the actual trip.
6. Safety First
While filming is important, safety should always come first. Follow all safety instructions provided by the zipline operators. Ensure that any additional equipment does not interfere with the zipline gear and harnesses. It’s advisable to inform the operator of your intentions to film so they can provide guidance and assistance.
7. Post-Production
After filming your zipline adventure, use video editing software to enhance the footage. You can stabilize shaky clips, adjust colors, and trim videos to highlight the most exciting parts of your trip. Adding music or sound effects can also enhance the viewing experience.
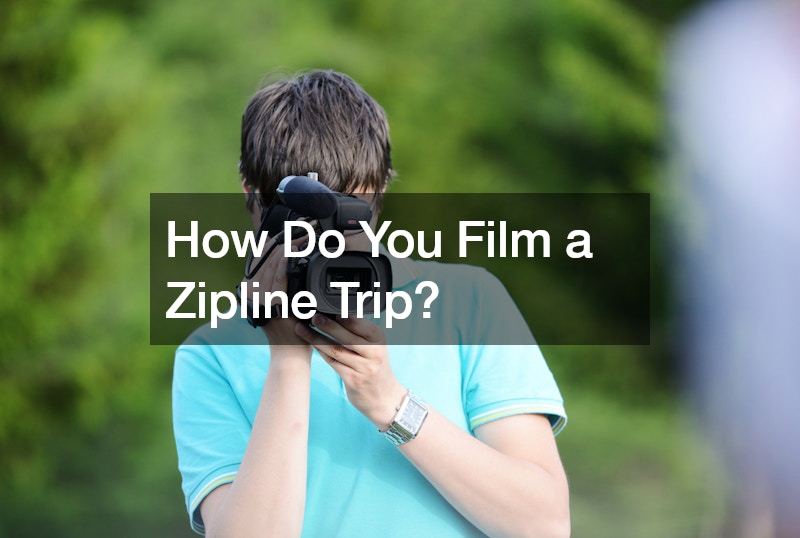
Wondering how to film a zipline trip? Watch the video above!.
